Why and how to use Python Virtual environments?
Posted: March 13, 2024
Why and how to use Python Virtual environments?
When I started with Python I did not pay attention to virtual environments. I came here to learn programming, not virtual environments, right? Did not take long and I realized that I should have invested maybe 20 minutes into the subject. Don't make the same mistake, learn from mine :)
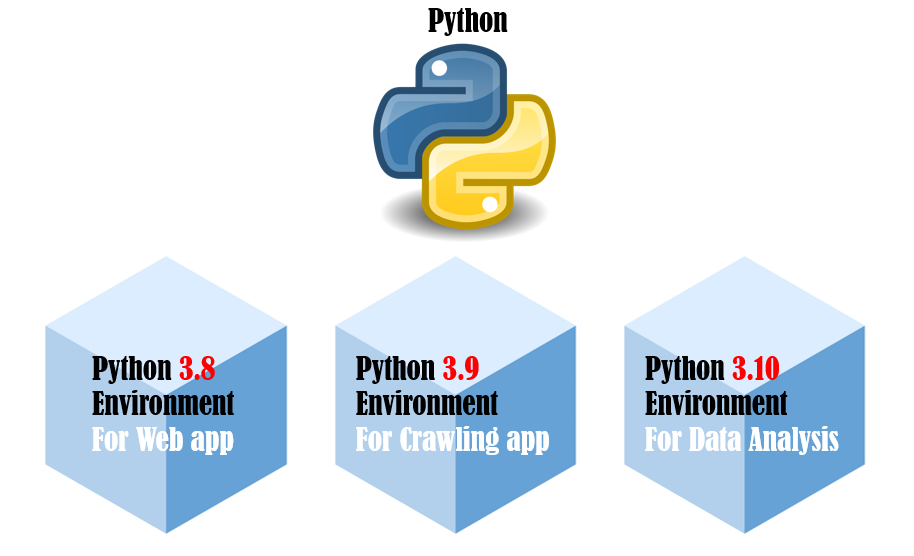
First thing first, why do we need virtual environments? Different Python projects require different packages to be installed. If you are working on web development you probably need Django, Flask, gunicorn, python-dotenv, etc… If you are working with data analysis you install Pandas or Polars. Imagine that in the future you decide to create a simple web for your data analysis project and you decide to use Flask. However Flask is used in web projects and without virtual environments you need to 'share' your main Python installation. You might want to use one Flask version for a Web project and another for a data project.
With virtual environments you create two lightweight versions of Python that use their own packages. There is no interference and package dependency between projects as each project runs in its own virtual environment.
I worked with two Python virtual environment tools.
I think there is no right or wrong answer when selecting one of those two tools. From now on I will talk only about pipenv.. Personally, I find pipevn more convenient to use and I like how easy and straightforward everything is.
Let's assume you have Python installed and you are in your home directory.
First step is to install pipenv:
matej@MacBook venvtest % pip install pipenv
Now we will create a folder and call it 'venvtest'. Go to venvtest. From there, run following:
matej@MacBook venvtest % pipenv shell
Creating a virtualenv for this project...
Pipfile: ~/venvtest/Pipfile
Using /usr/local/bin/python3 (3.11.3) to create virtualenv…
…
✔ Successfully created virtual environment!
…
(venvtest) matej@MacBook venvtest %
Your prompt changed and you are in the virtual environment 'venvtest' already. Environment takes its name from the folder you ran 'pipenv shell' command in.
It is important to say that the process automatically creates a new file called 'Pipfile'. You find it in the same folder. It contains details about your environment. There is no need to modify the file, but feel free to check its content.
Now your virtual environment is ready for use, here I list commands that will serve most of your needs.
- To create a new environment or re-enter existing environment: 'pipenv shell'
- To exit environment: 'exit'
- To list help: 'pipenv --help'
- To create environment with specific Python version in mind: pipenv --python 3.9
- To erase environment: pipenv --rm
- Remaining command and use can be found here: (https://pypi.org/project/pipenv/)
This is my first blog post ever, be forgiving. If you have comments, you can use contact form on the main page of py-net.com. Be nice, life is short and nobody is perfect.
Music played during creation of the blog post: https://www.youtube.com/playlist?list=PLvrbxb5BJMiiJ9IZdsX-Hz7ih8nizJbdU
Illustrative picture used in the blog is from: https://thats-it-code.com/